Achieving Ultra-Smooth FDM Prints for Model Kits

Fused Deposition Modeling (FDM) is a fantastic 3D printing method, but it often leaves visible layer lines that can take away from the final aesthetic—especially for high-detail model kits. The same is true for most additive manufacturing processes. If you want smooth, professional-quality prints for your Luft '46 aircraft models, the right combination of resolution, finishing techniques, and patience can make all the difference. In this post, we'll dive into how to achieve ultra-smooth FDM prints using high-resolution printing and a simple yet effective post-processing method.
High-Resolution Printing: The Foundation of Smoothness
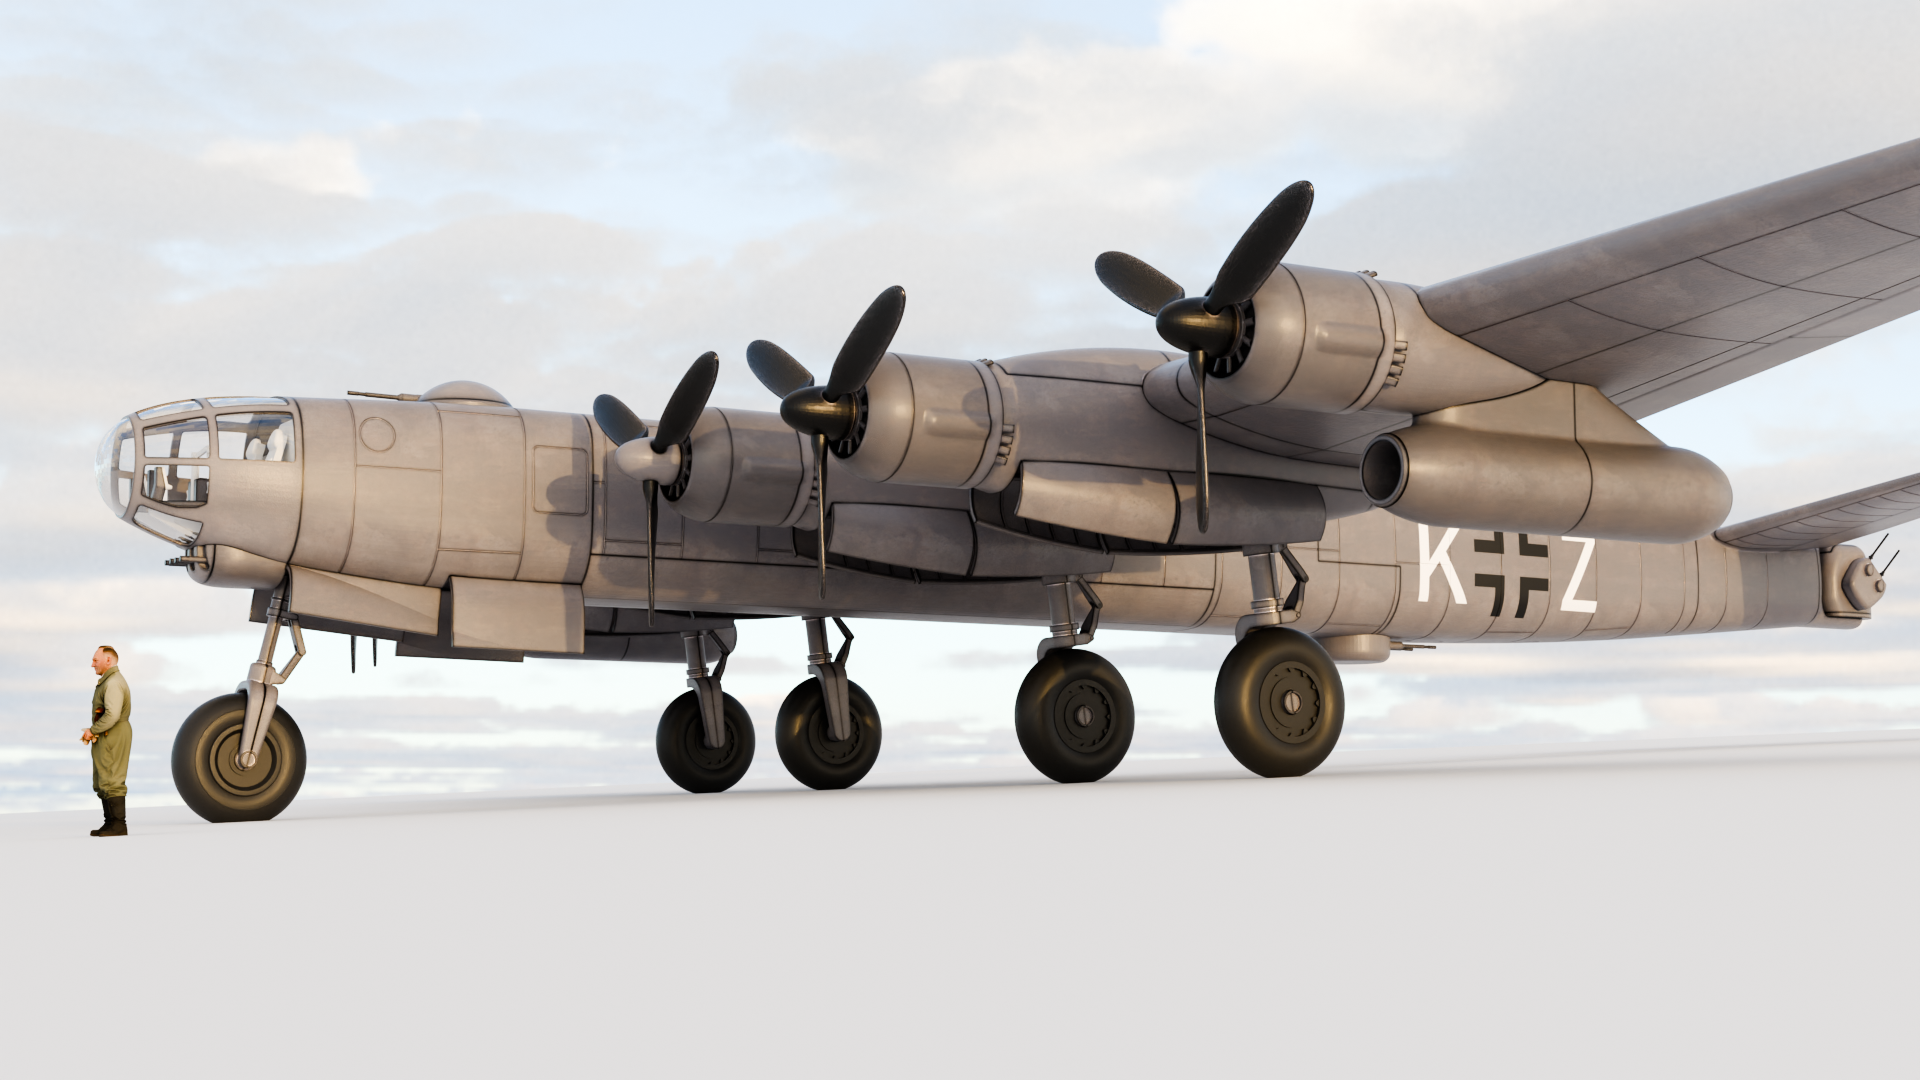
For model kits, surface quality is crucial. Using a high-resolution layer height of 0.06 mm allows for approximately 17 layers per millimeter, significantly reducing visible stepping and improving detail retention. While this increases print time, the results are worth it, especially for highly detailed models.
Benefits of High Resolution:
Finer details and better surface definition for panel lines and details
- Less aggressive post-processing required
- Stronger layer adhesion, ensuring durability during assembly
The image shows a typical fuselage section printed at these settings.


Prime first
Even with high-resolution settings, FDM prints exhibit a unique microscopic surface structure due to the layer-by-layer extrusion process. The topology consists of:
- Layer ridges: Small step-like formations caused by the nozzle depositing successive layers.
- Microscopic voids: Tiny air gaps between extruded filament paths, which can impact smoothness and paint adhesion.
- Uneven extrusion patterns: Variations in cooling rates, extrusion consistency, and nozzle pathing can create small peaks and valleys across the surface.
- Filament texture: Depending on the material used, the surface can have a slightly rough or glossy finish due to polymer crystallization and cooling effects.
Addressing these microscopic imperfections is essential for achieving a smooth, uniform surface ideal for painting and detailing model kits.
The images below show a 20 x 20 mm sample as printed and under a microscope. While parts can be sanded directly, applying a primer first offers a significant advantage. The primer fills in any gaps or imperfections—many of which are inherent to the FDM process—with a material that sands easily. This makes the process of smoothing the surface much faster and less labor-intensive, allowing you to quickly achieve a smooth, even finish down to the bulk material.


The Finishing Sequence: Filler Primer & Sanding
Even with high-resolution prints, some surface imperfections remain. This is where
filler primer and sanding
come into play to create a polished, near-flawless finish—perfect for painting and weathering effects on your model aircraft.
Step 1: Apply Filler Primer
Filler primer is designed to seep into tiny gaps and layer lines, making the surface easier to sand smooth. Here’s how to apply it effectively:
- Clean the print: Remove dust and debris before applying the primer.
- Apply thin, even coats: Spray the filler primer from about 20 cm away in light, even passes.
- Let it dry completely: Follow the manufacturer’s drying time (usually 30–60 minutes between coats).
- Repeat if necessary: Apply multiple coats if deep layer lines are still visible.


Step 2: Wet Sanding (1000 Grit)
Once the filler primer is dry, it’s time to refine the surface with wet sanding using 1000-grit sandpaper:
- Use water: Dip the sandpaper in water to prevent clogging and ensure smooth sanding.
- Light pressure: Gently sand in circular motions to avoid over-removing material.
- Check progress frequently: Wipe the surface dry to inspect smoothness.
- Repeat as needed: Reapply primer and sand again if necessary.


Final Thoughts
By combining high-resolution printing (0.06 mm) with a primer first approach, you can drastically improve the look and feel of your FDM-printed Luft '46 models. These techniques help ensure a professional-grade finish, making your aircraft replicas look as if they came straight from an injection-molded kit.
Share your experiences and tips in the comments!